Pages that open and close the trip
- The title page. The destination in big letters, the dates, and who came. A plane or train ticket works as a ready-made title: it already has the city codes and the date on it.
- The “before we left” page. The packing list, the booking confirmation, a screenshot of the weather forecast, a photo of the suitcase on the bed. It sets up the story.
- The map page. A printed or hand-drawn map with the route marked and small numbers that match your later pages.
- The “last night” page. One photo from the last evening and a short list: what you’d do again, what you’d skip, what you want to come back for.
Pages for the middle of the trip
- One page per day. Title each with the day number and one word (“day 3: rain”). This is the simplest structure and the easiest to finish.
- One page per place. For a road trip or a multi-city trip, group by place instead of day.
- The best bite. Every meal you photographed, with the dish name and what it cost. Food pages are often the ones people look at longest.
- The street-level page. Doors, signs, tiles, shop fronts, a bus stop. These details are what make a place look like itself.
- Ticket stubs and entry bands. A page built around the paper you kept, with the photos from those places tucked around it.
- People you met. The guide, the café owner, the family at the next table, with their first name if you know it.
- The view from the room. The same window, morning and evening.
Pages with a twist
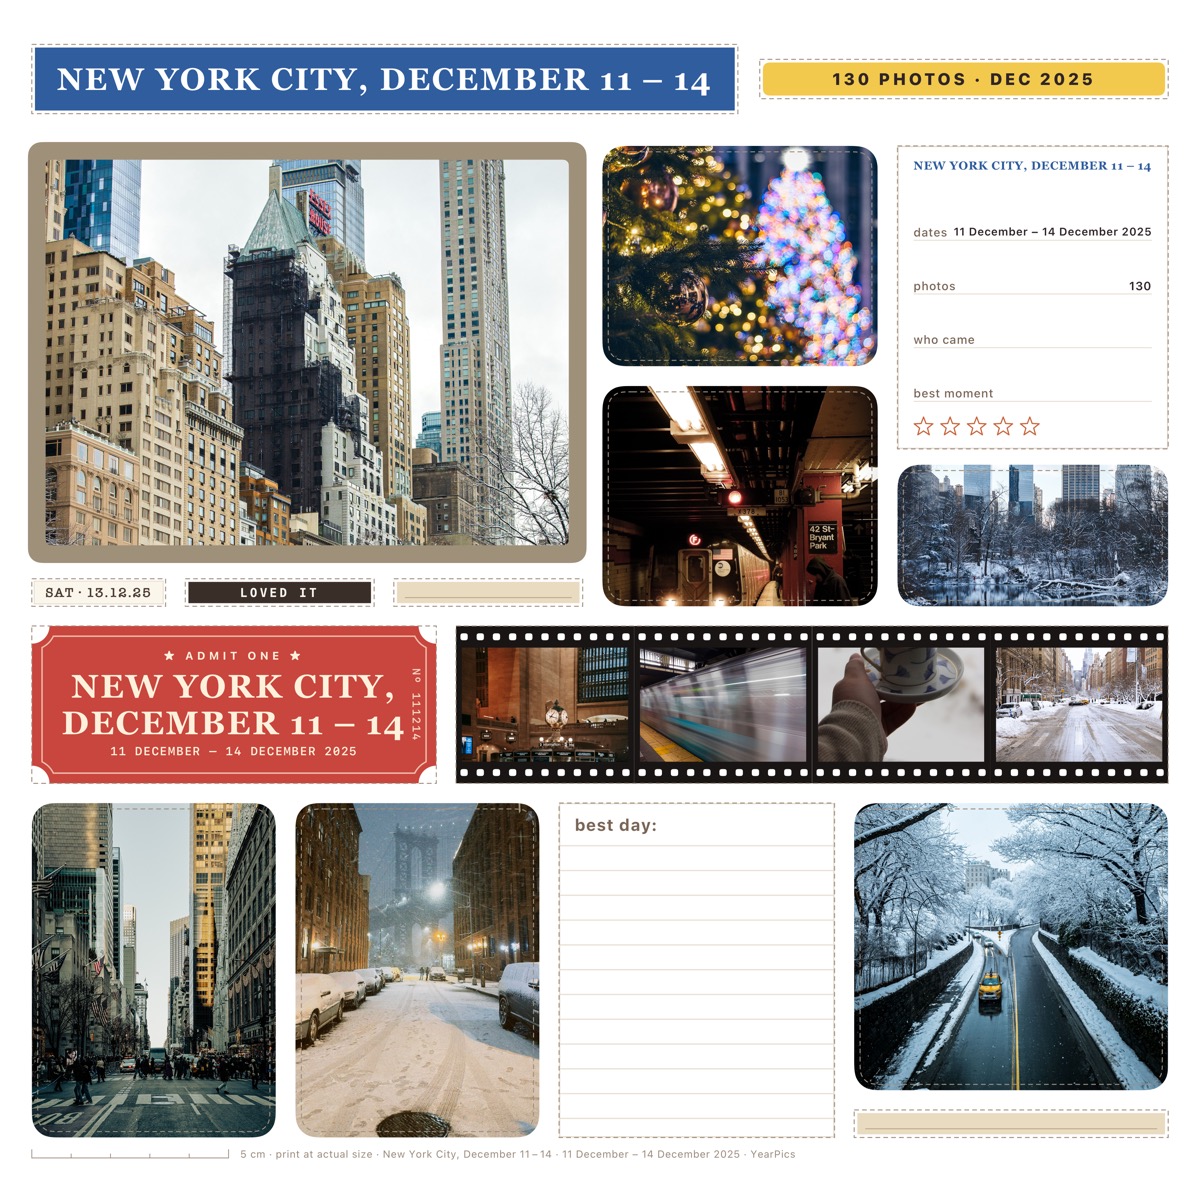
- A film strip. Five photos in a row, taken minutes apart, reads like a little movie: a tram arriving, a wave breaking, a market getting busy.
- A boarding pass with your own words. Replace “gate” and “seat” with “best day” and “worst coffee”.
- The numbers page. Steps walked, miles driven, photos taken, coffees drunk.
- The one-photo page. One big print and a single line underneath. Use it for the photo you’d frame.
Keep it simple while you travel
The hardest part of a travel scrapbook is not the design; it is finding the right 40 photos among 400 when you get home. Two habits help: favorite (heart) the photos you love in the Photos app on the day you take them, and take one wide “establishing” photo of each place so every page has a natural big photo.
If you’d rather start from a finished page and adjust it, an app can do the first draft. Either way, print the pages before adding the paper pieces; glue and tape go on last.