Three rules that make busy pages work
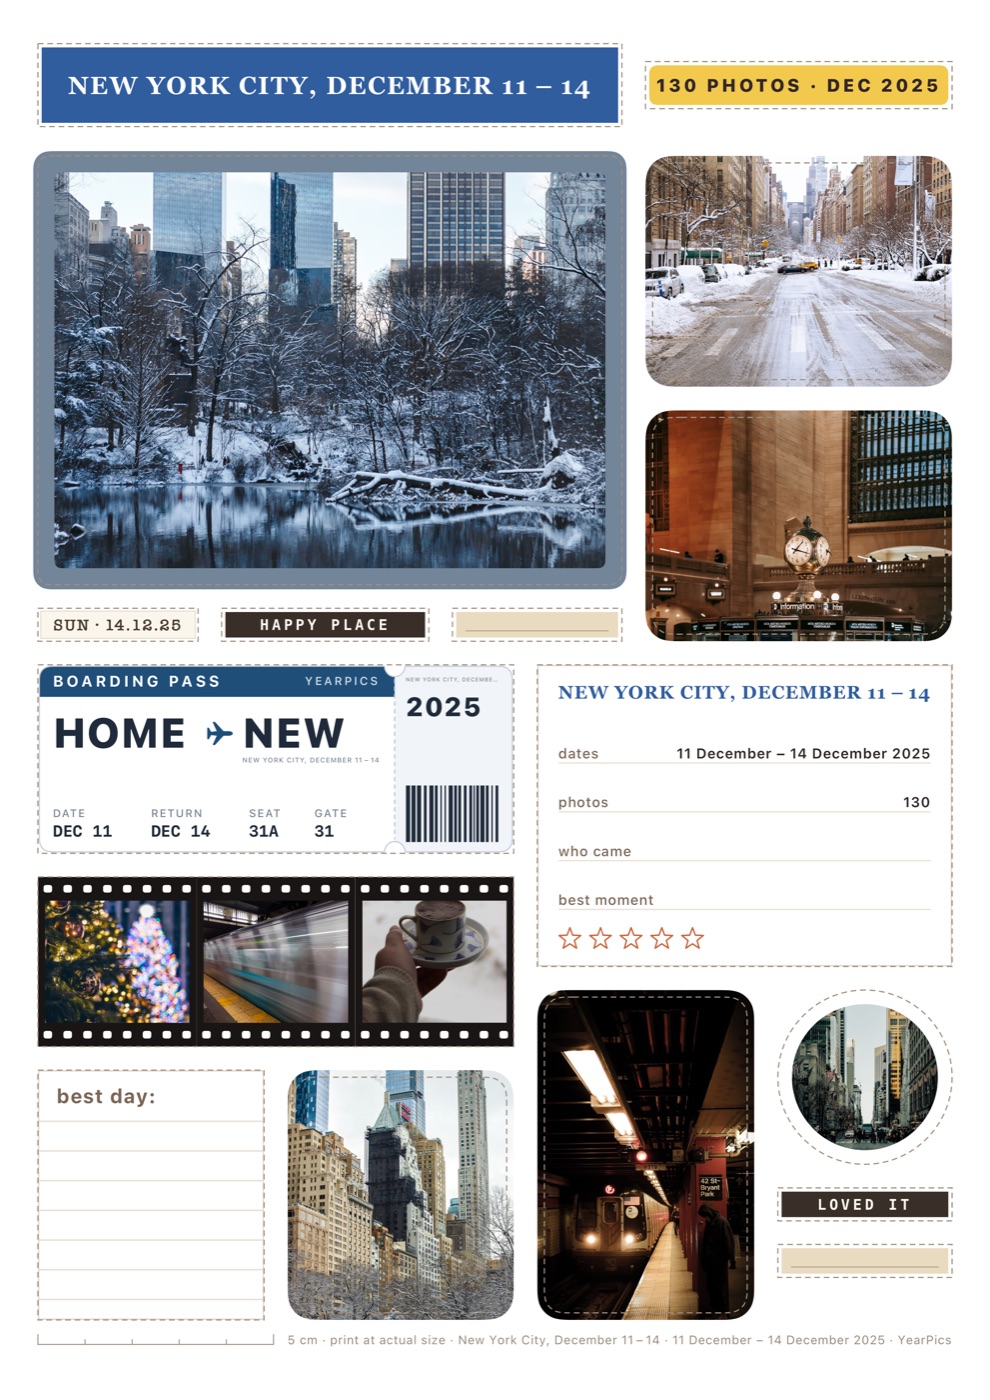
- One hero. Every page needs one photo that is clearly the biggest. Without it, the eye has nowhere to start.
- Align edges. Photos can be different sizes, but their edges should line up with each other or with an invisible grid. That alone makes a page look designed.
- Keep a margin. Leave at least half an inch of empty space around the page. Crowding to the edge is what makes a page look cluttered.
Eight layouts
1. Hero plus column (5 to 7 photos)
A large photo takes the left two thirds; a column of three or four small photos runs down the right. Put the title above the column.
2. The grid (6, 9 or 12 photos)
Square photos in a 3×2, 3×3 or 4×3 grid with even gaps. Calm and modern. Swap one square for a title card or a ticket to break it up.
3. The film strip (5 photos plus 1 to 3 more)
Five photos in a row across the middle, taken close together in time, like frames of a film. Add a bigger photo above and journaling below.
4. The Z layout (4 to 6 photos)
Arrange photos so the eye travels top left → top right → bottom left → bottom right. Put the best photo top left and the closing photo bottom right.
5. Hero with a frame of minis (9 to 13 photos)
One photo in the centre, small photos around all four sides. Good for a whole day or a party.
6. Two halves (6 to 8 photos)
Split the page into “morning” and “evening”, or “before” and “after”, with a line or a strip of washi tape between them.
7. The polaroid scatter (4 to 6 photos)
Instant-style prints with white borders, tilted a few degrees, overlapping slightly. Keep the overlaps away from faces. This works best with fewer photos.
8. The ticket page (3 to 5 photos)
Build the page around a real ticket or a printed boarding pass and fit the photos around it.
Mix shapes, not just sizes
Rounded corners, a circle crop for a face or a detail, a deckled or torn edge, and a stamp-shaped photo add variety without adding more photos. Keep it to two or three shapes per page.
When there are still too many photos
Use a second page or a flip-up pocket, or make a photo collage of the leftovers as an endpaper. Not every photo needs to be in the scrapbook; the album keeps the rest.